Earlier this year, in preparation for La Belle Compagnie’s hunting camp presentation at MTA, I needed a spear. This was the first time I had attempted to haft a spear, so I thought I would share what I did. I was very satisfied with the result, and the spear head feels pretty rock-solid on the haft. Ordering an unhafted spear head is a great way to save money, especially on shipping, and it allows you to control exactly how the finished spear will look and feel. It’s a project that I discovered is relatively simple with some basic tools. It’s definitely not something to be intimidated by.
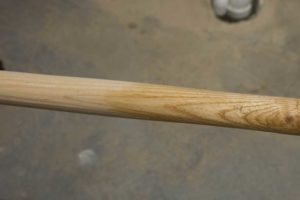
The shaping and prep of the haft was done by my friend and fellow La Belle member. The haft started life as a piece of 6/4 square ash stock. The stock was brought to round using a draw knife. It is intentionally left a little out of round so that the haft is less likely to spin in the hand and maintain the desired orientation of the spear head.
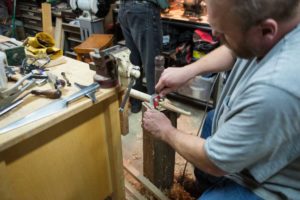
The ends of the haft are drawn down further with a spokeshave to be fit into the sockets for both the spear head and the butt cap.
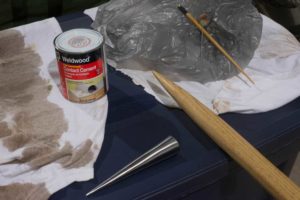
To affix the butt cap to the wood, I used contact cement. Obviously contact cement is a modern product, usually used for things like laminating counter tops, but it works very well for this application. There is no hole in the butt cap to use something like a nail to attach it. If you desire a more period solution, using something like an animal-based glue would work. Contact cement should be readily available at your local hardware store.
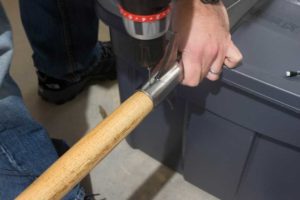
Holes were pre-drilled in the spear head, but they were a little bit too small for the nails we intended to use, so they were widened a bit on a drill press. The spear head was then pre-fitted to the haft, and I marked the wood with a pencil. I decided the easiest way to drill the pilot holes was with the spear head in place, so I that’s what I did. Pilot holes were drilled to prevent the wood from splitting when the nails were driven.
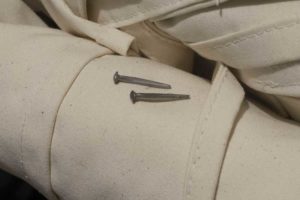
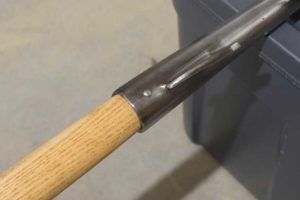
The nails are then simply hammered in to the haft through the pre-drilled hole on the side of the socket. The pilot holes in the wood prevent the wide tapering shape of the cut nails from splitting the ash (they can have a wedge effect, unlike the even profile of wire nails which are less prone to cause splits). There is a nail on either side of the socket, securing the head from both ends.
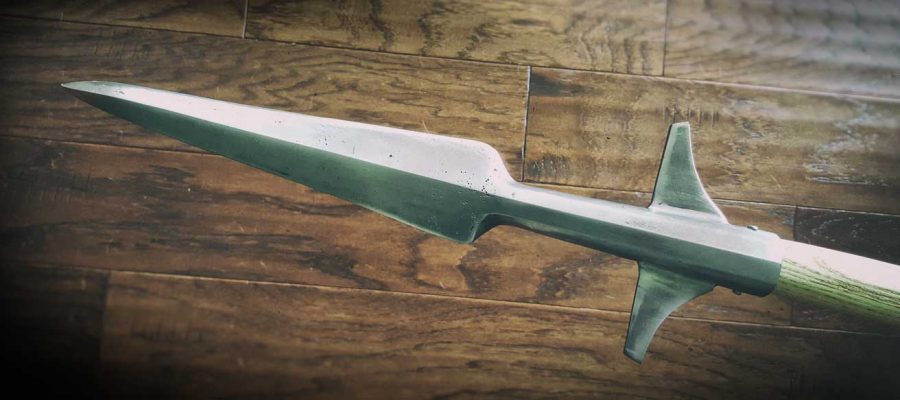
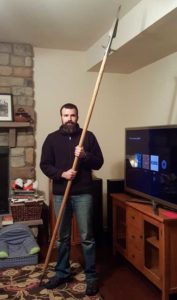
The finished spear is a bit of a beast! It’s just about 9 feet long from the butt spike to the tip of the spear head. The butt spike feels very firmly fixed to the end of the haft and stands up well to being stuck into the ground. It hasn’t loosened over time so far, but eventually it can fail but is easily repairable. The spear head is very solid on the other end. It has no play, but over time and with heavy use, it will probably loosen, but such is the nature of a working weapon.


4 Comments
Leave your reply.