First a word of warning: this is most certainly not a definitive guide on how this should be done. This is just my best guess based on the techniques I am familiar with when it comes to tailoring (which aren’t a whole lot). I share this process for informational purposes so that others may learn from my (mis)adventures in sewing, enjoy!
Having received my excellent pair of mail sleeves from Historically Patterned Mail, I had to decide on the attachment method I wanted to use. There are several methods of historical attachment as documented on several survivals. Some extant examples use strips of mail rings to connect the two sleeves together. Other use leather straps and buckles to attach the two sleeves together. I was most intrigued by a singular example from the Deutches Historiches Museum that utilized a small fabric bodice to hold the mail sleeves in place.
Why choose a 16th century example? I intend to wear these under an early 15th century English armor, so why have I chosen to model my sleeves after a singular 16th century example? Part of this decision was the allure of experimental archaeology. I want to see how this arrangement works in practice. I am open to the potential of it failing miserably and having to go to a different method, but that’s all part of the fun. The other thing to consider is that the overwhelming majority of surviving mail sleeves from any century have no evidence for any method of attachment at all. Instead, the mail tends to cleanly finish with a nice square edge over the chest and back with no surviving strap, fragmentary mail, or textile. In the absence of definitive means of attachment for my chosen time period, I have elected to model my sleeves after the aforementioned example.
I began by trying to figure out a pattern. The only photograph available of the original is just the linked image of the front, so I would have to do my best. I began by simply placing the mail sleeves on over my arming doublet, tying them in place with cord, and getting a sense of the negative space between the two sleeves. With that in mind I drafted a basic pattern on some freezer paper.
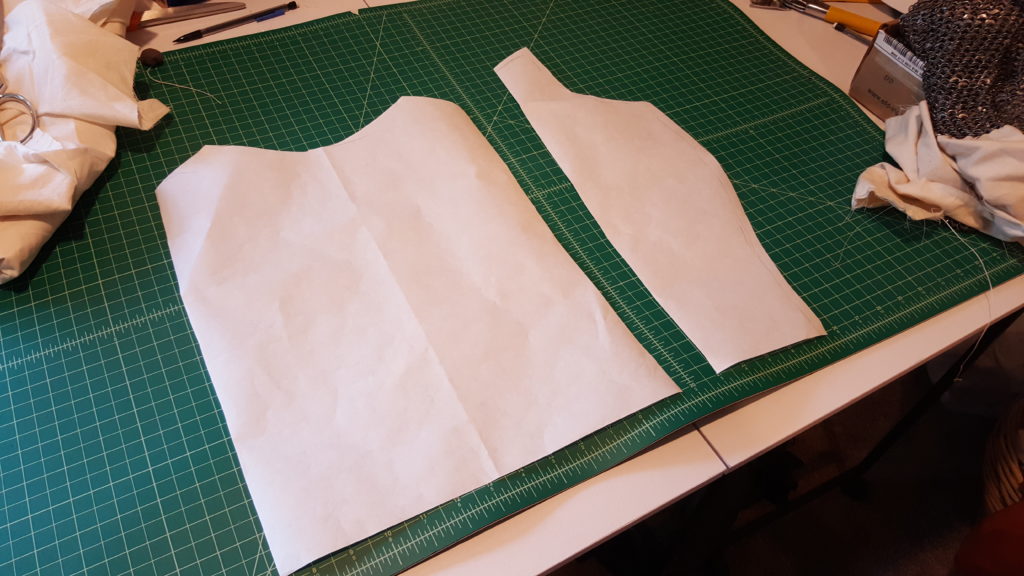
I then cut this pattern from some inexpensive muslin and built a quick mock-up on a sewing machine.
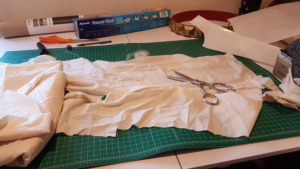
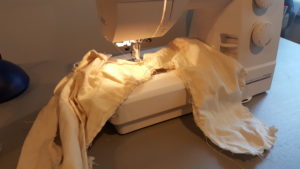
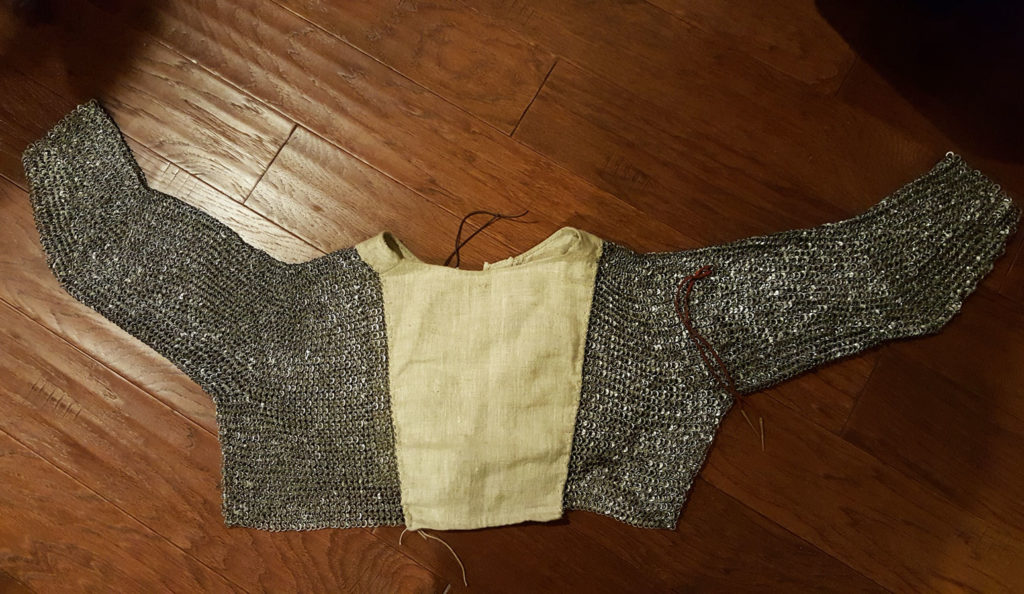
Next, the mail sleeves were sewn to the prototype bodice using a heavy waxed linen thread.
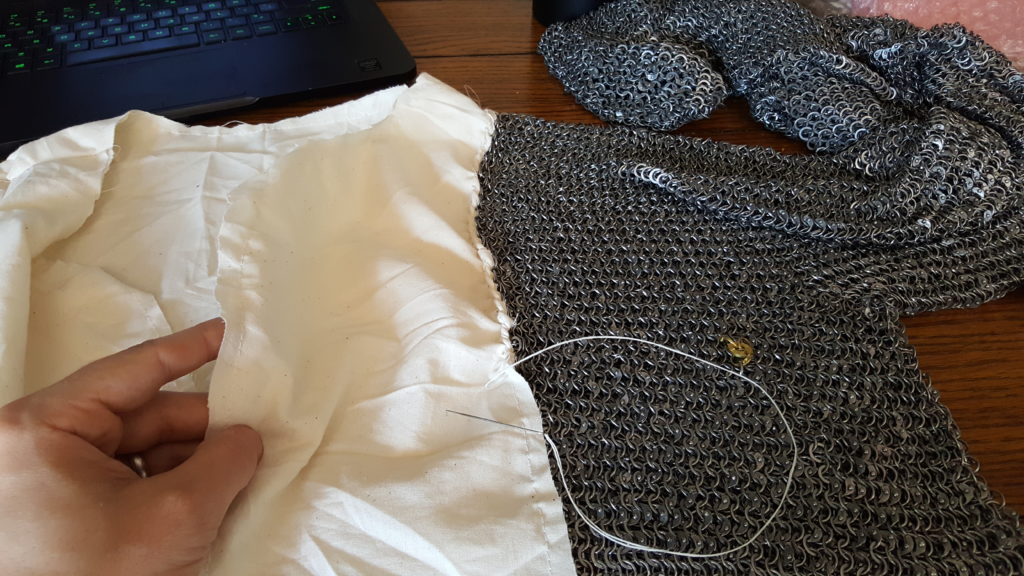
The mail sleeves were put on for a test fit. Once on, I gathered the fabric and used safety pins to get the fit how I wanted it. Once I had it fitting properly, I made chalk lines on the fabric where I would need to make adjustments and transferred those adjustments to my paper pattern.
With the paper pattern tweaked to reflect the changes I made on the mock-up, I transferred the pattern to my linen and cut out the pieces.
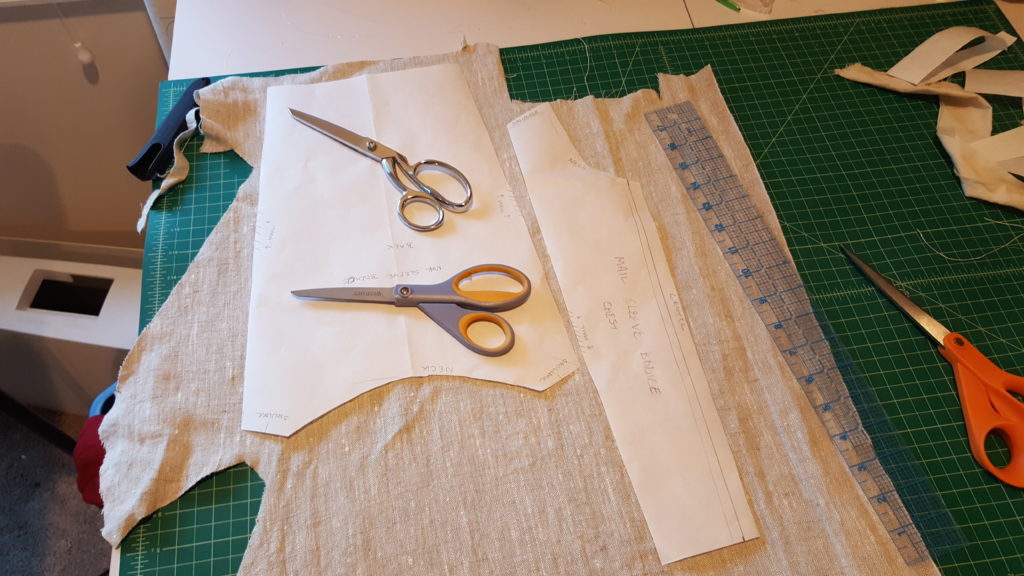
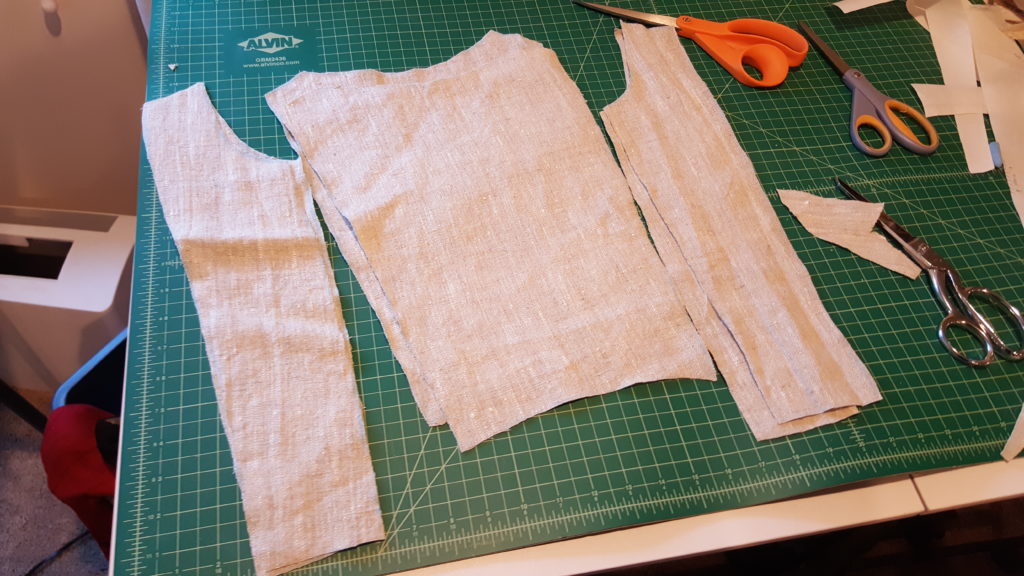
Each panel consists of two layers of a heavy weight linen I had on hand. If I were to do this again, I would consider using a heavier canvas weight linen or something like a hemp ticking fabric. The two layers were sewn together and finished as individual panels, and then the completed panels were sewn to each other. At first I left the bottom hem of each panel unfinished because I was unsure of the exact overall final length. This would be determined by the placement of the mail sleeves, and then I could finalize the overall length of each panel.
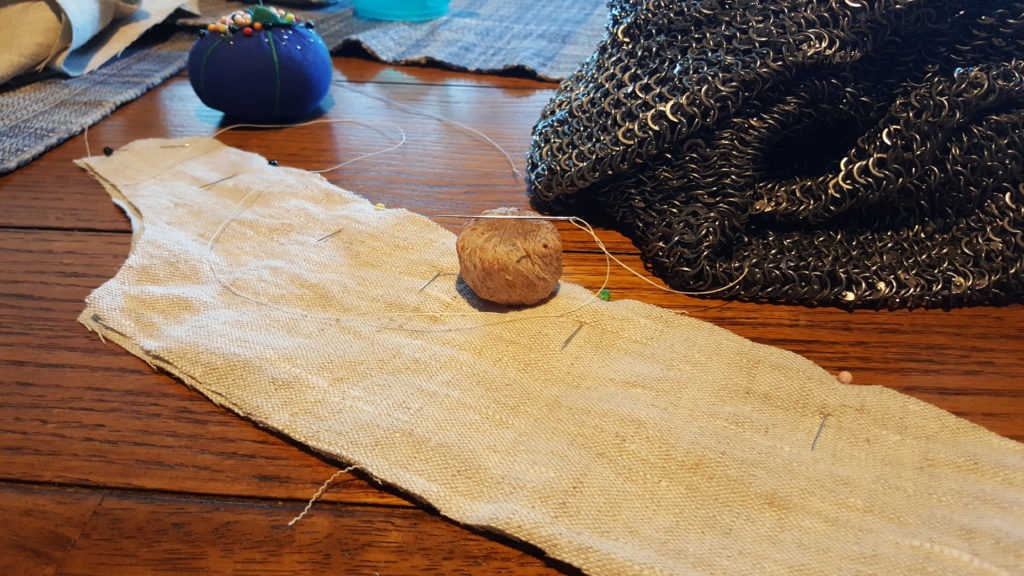
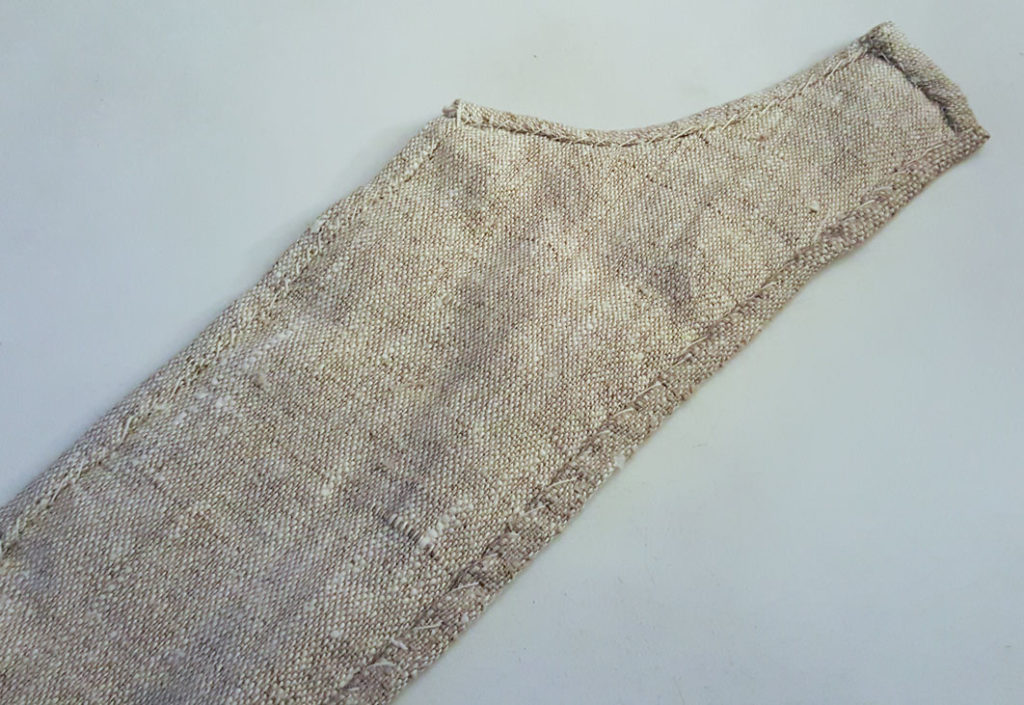
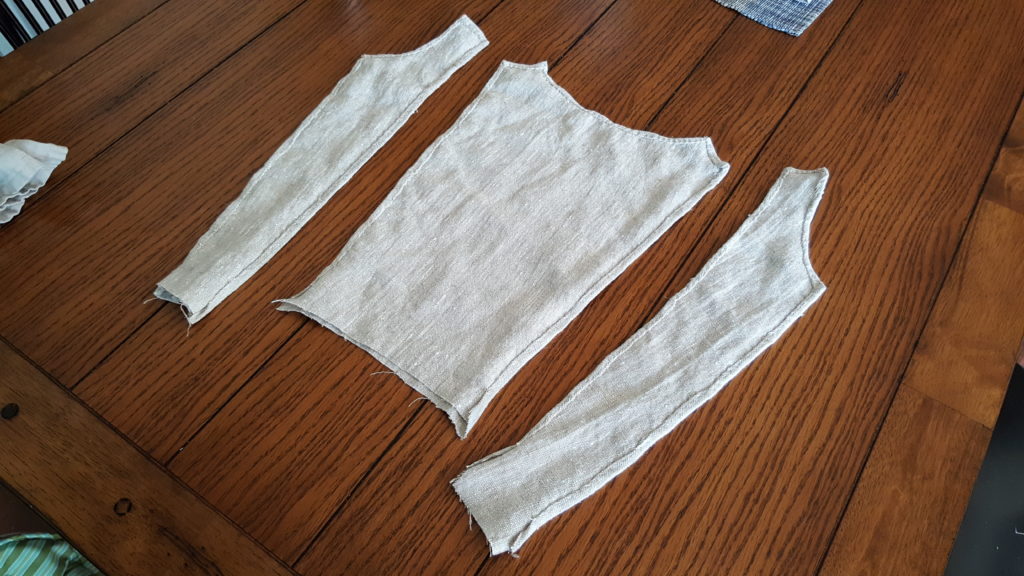
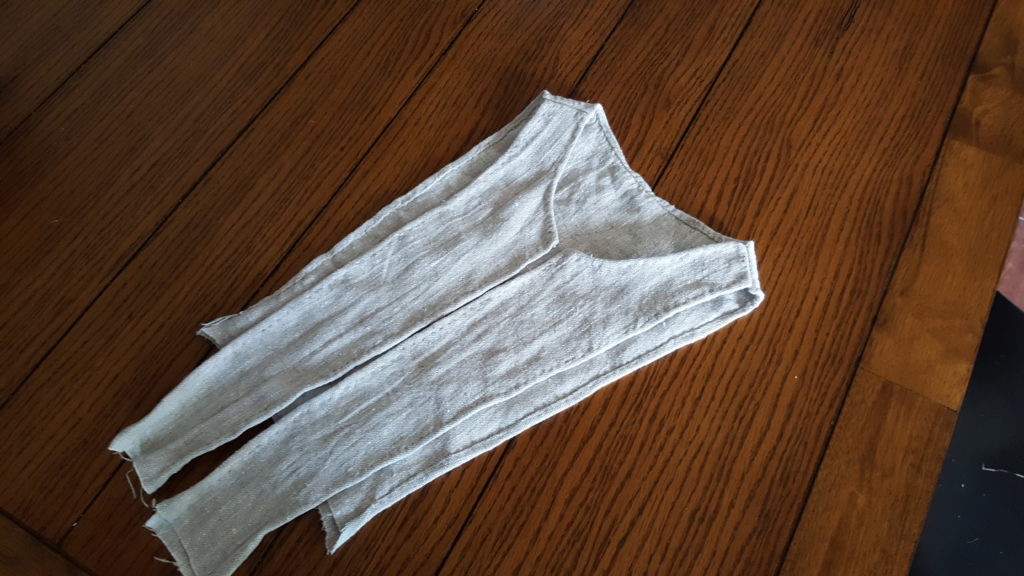
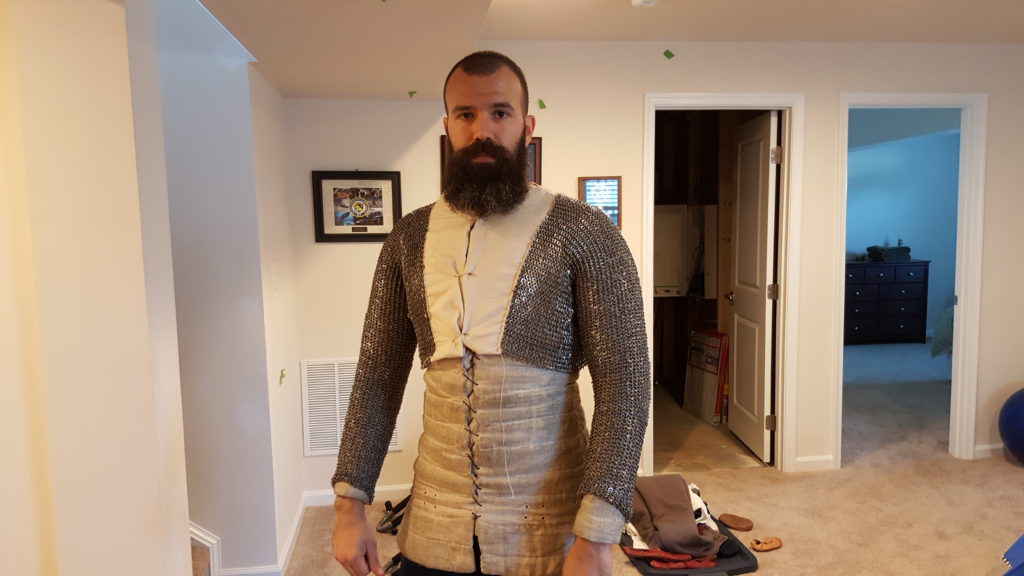
The mail sleeves were then sewn to the fabric bodice. Three pairs of eyelets were then sewn on each side of the garment, matching the pattern present on the survival from the DHM.
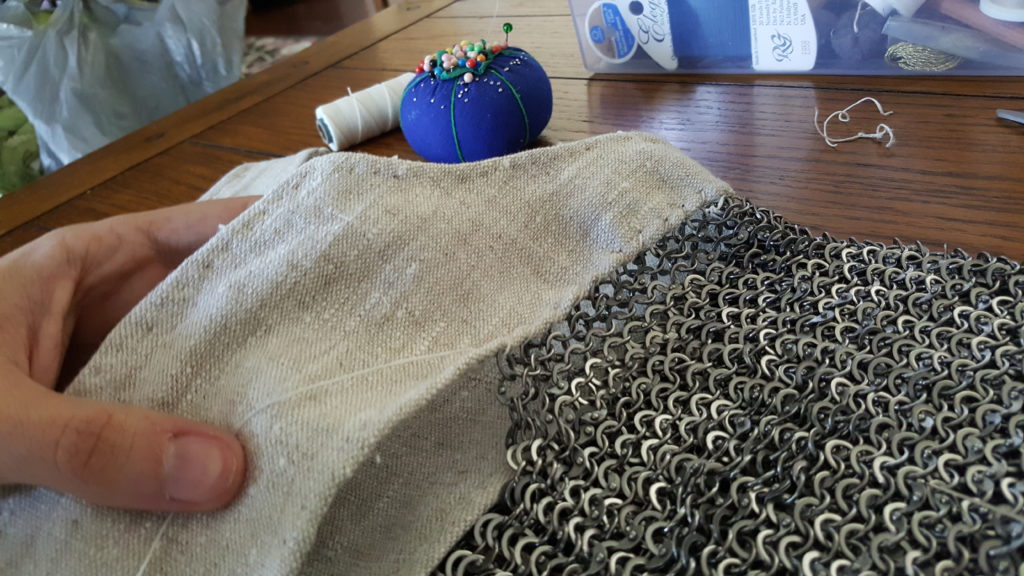
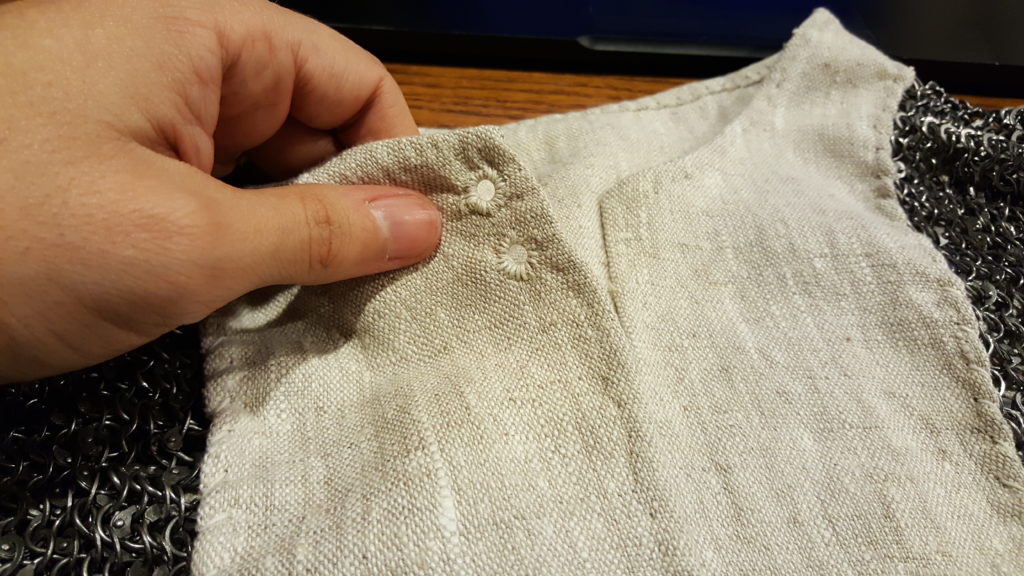
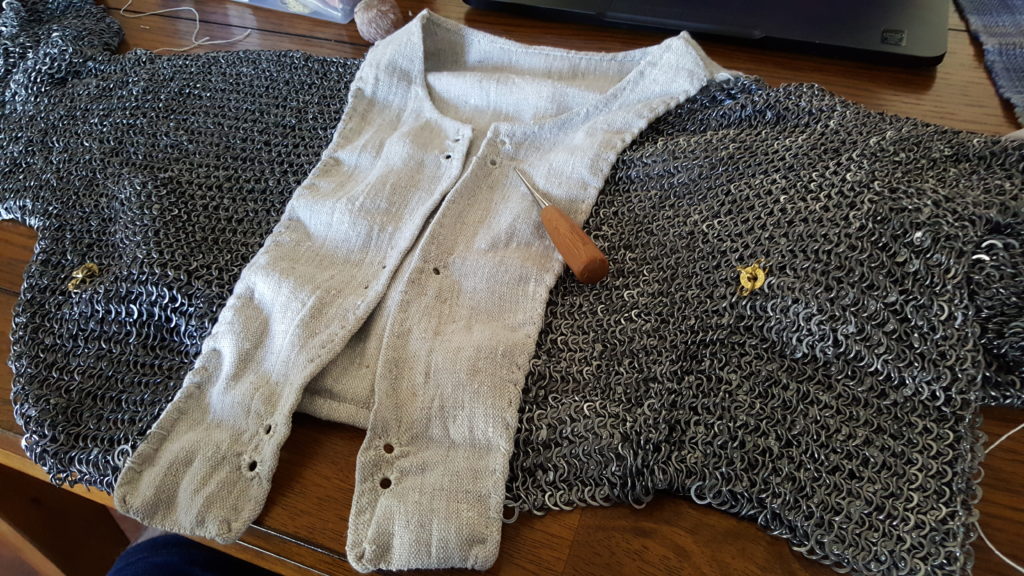
Oh no, it doesn’t fit!
At this point I was excited to put them on and admire my amazing tailoring skills at work. It was then that I realized something got lost in translation along the way. The bodice wasn’t fitting like it was supposed to. The top two sets of eyelets weren’t able to close and get a comfortable fit. There was far too much strain on the fabric. I am still not sure exactly where I went wrong. If I had to guess I would think that something got lost in the seam allowances I left for myself as that’s usually where my dimensions go wonky. I probably needed to give myself much more generous seam allowance for the hem that was put on each panel for finishing. In the future I would double the seam allowances. I think I simply underestimated the amount of fabric I lost in the process of rolling the raw edge underneath and tacking it down.
In order to fix this, I considered making the whole thing over again. After about 5 seconds of consideration I dismissed that idea. Instead I decided to go the route of making an alteration to my existing product. There are several examples in surviving medieval garments where small panels were added to correct a mistake in tailoring or possibly a future alteration in the life of the garment, and I thought that would simultaneously save me some work and give the finished product some character.
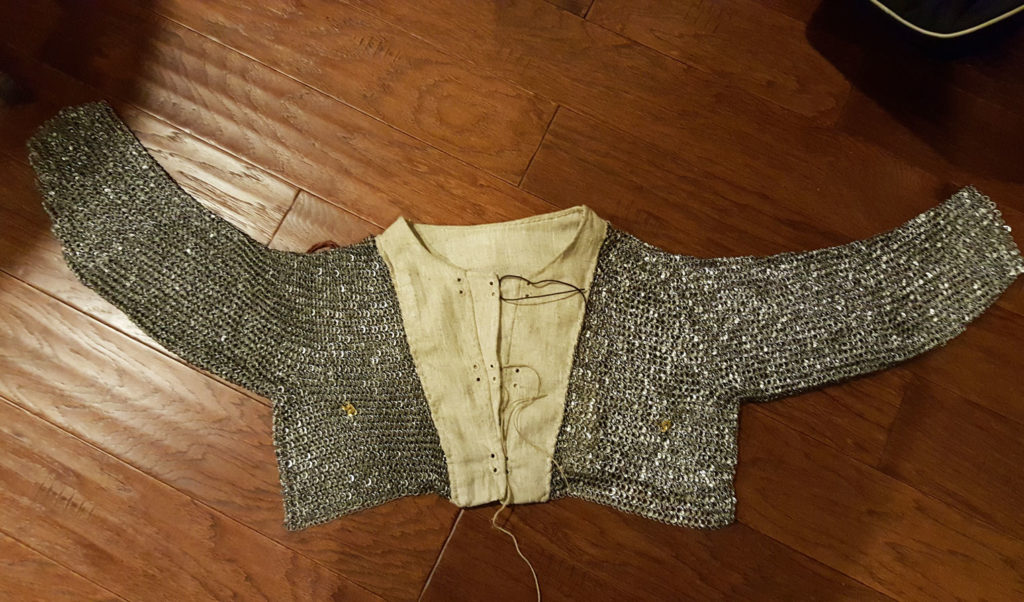
I created two symmetrical triangular panels that would give me some more room in the chest and constructed them just like the previous panels on the rest of the garment.
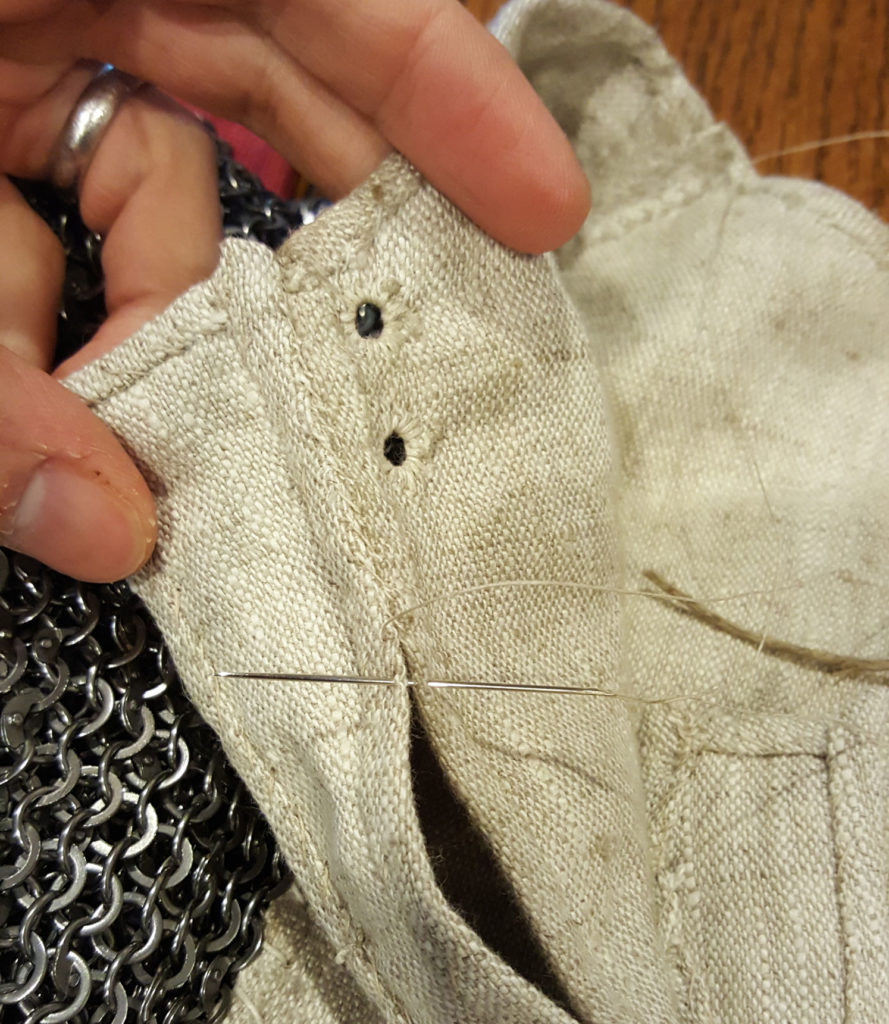
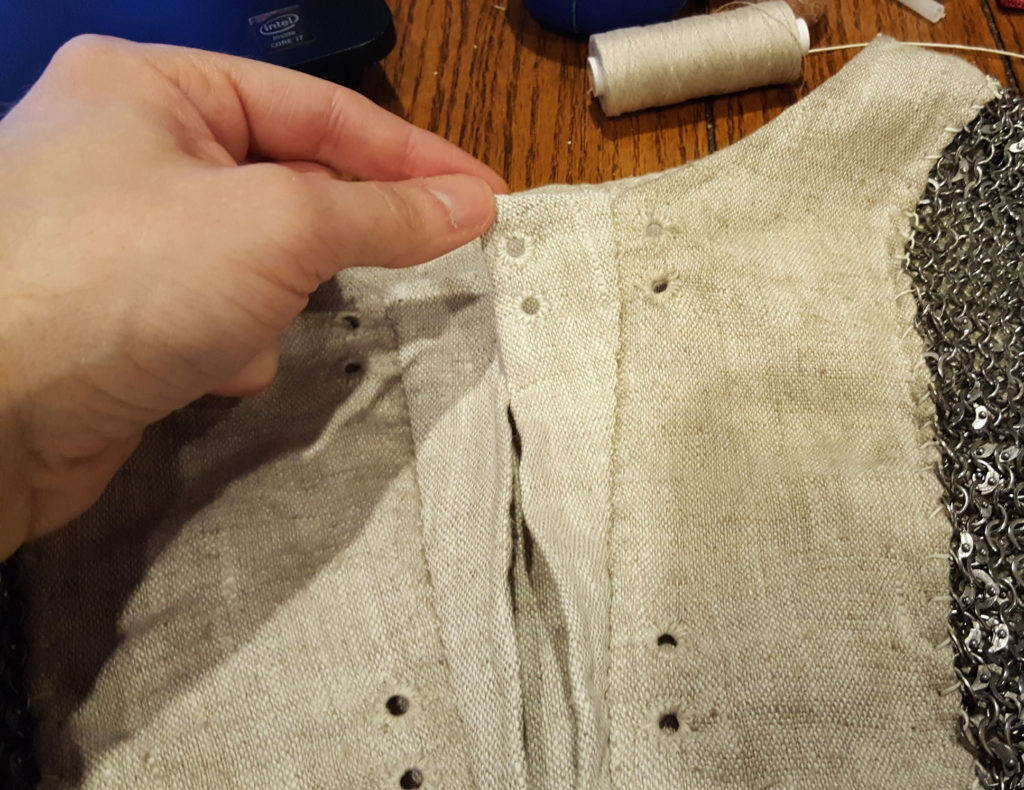
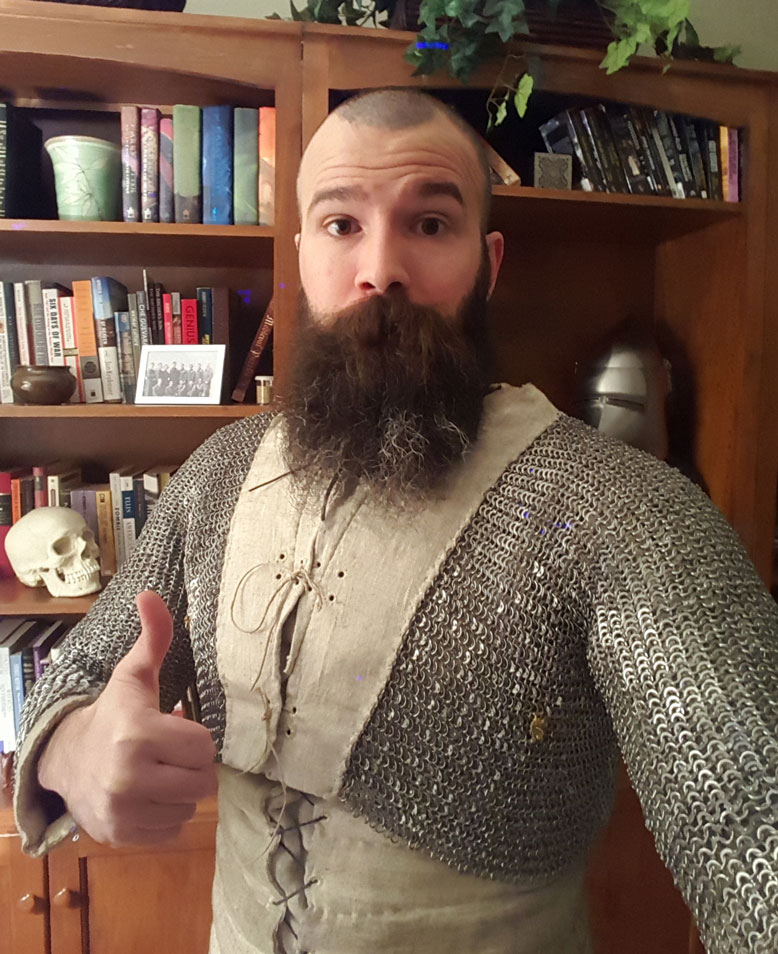
Of course the new dimensions meant that I needed to add new eyelets to the altered panels. I could have taken the eyelets out of the original panels, and they should heal over time since no fabric is cut in the process of making an eyelet, but I opted to just leave them in place. With all the new eyelets sewn, the test fit was a success. The mail sleeves sat on the body much closer to the way I expected them to originally.
There is still a little more pull at the shoulders than I’d like. I’m considering taking a small dart out of the center back of the garment to correct this, but I would first like to see how the sleeves interact with the cuirass that they are intended to be worn with, and I don’t have that yet. I will revisit these when the rest of the armor arrives. Until then, here is where they’re at!



4 Comments
Leave your reply.